Views: 0 Author: Site Editor Publish Time: 2025-09-23 Origin: Site
Unhooking a bathroom sink means you disconnect water lines, drain pipes, and mounting hardware. You want to do this safely. Aquacubic offers reliable sinks and accessories. You need to prepare for each step. Put on gloves. Make sure you work in a clear space.
Get the tools you need like wrenches, pliers, and safety gloves. This helps make the job easier and keeps you safe.
Always turn off the water at the shutoff valves before you start. This stops leaks and keeps your area dry.
Go slow when you take out the sink and its parts. If you rush, you might make mistakes or break the sink or countertop.

Before you start, gather the tools you need. Having everything ready makes the job smoother. Here's a quick checklist:
Adjustable wrench
Basin wrench (for tight spots)
Pipe wrench (for stubborn fittings)
Tongue and groove pliers
Utility knife
Bucket or container
Safety gloves
Plumber's putty and plumber's tape
Plunger
Tip: Lay out your tools on a towel or tray. This keeps small parts from rolling away.
You want a clear area around the bathroom sink. Move any items from the countertop. Place a bucket under the pipes to catch water. Put on safety gloves to protect your hands. Safety glasses help if you worry about debris. Double-check for electrical outlets nearby. Stay alert to avoid accidents.
Step | What to Do |
|---|---|
Clear the area | Remove toiletries and clutter |
Protect the floor | Lay down towels or a mat |
Place a bucket | Catch drips from pipes |
Wear gloves | Keep hands safe from sharp edges |
Note: Rushing can lead to mistakes. Take your time and check your workspace before you begin.
You must turn off the water before you unhook anything. Look for the shutoff valves under the sink. Turn each valve clockwise until it stops. If a valve feels stuck, use a crescent wrench on the valve stem nut. Channel locks can help, but do not crush the handle. If you see leaks after you turn off the water, tighten the valve stem nut. Always test by turning on the faucet to make sure no water comes out. This step keeps your bathroom sink area dry and safe.
Remember: If you plan to upgrade, now is a good time to consider new valves for your next project.

You want to start by disconnecting the water lines. Most bathroom sinks use supply tubes and shutoff valves. These parts connect the faucet to the water supply. Here's a quick look:
Component | Description |
|---|---|
Supply Tubes | Braided wire or plastic mesh tubes. They supply hot and cold water. You see them in pairs. |
Shutoff Valves | Valves control water flow. You find one for hot and one for cold water. |
Follow these steps:
Put a bucket under the supply tubes. This catches drips.
Use an adjustable wrench to loosen the nuts on each supply tube.
Twist the nuts counterclockwise. Pull the tubes away from the valves.
Check for water. If you see leaks, tighten the shutoff valve.
Tip: If the nuts feel stuck, try tightening them a little first. This can break loose rust or buildup.
You need to tackle disconnecting the drain next. This step keeps water from spilling everywhere. Here's how you do it:
Make sure the water is off.
Disconnect the water supply line.
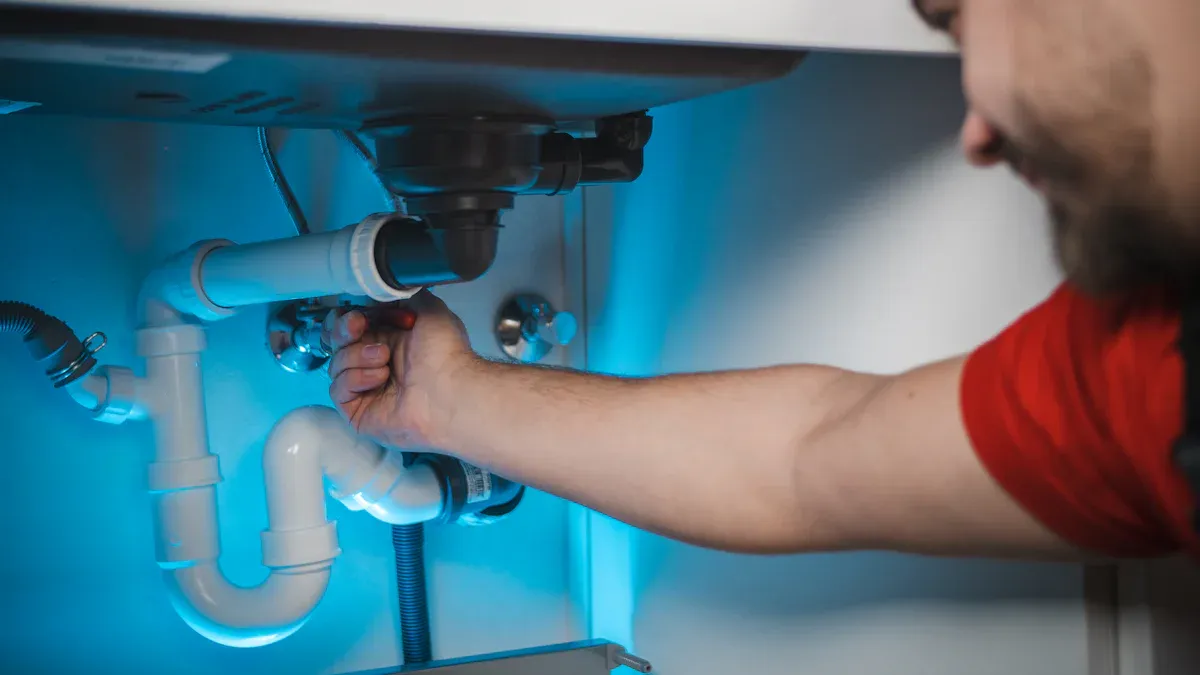
Place a bucket under the P-trap. This U-shaped pipe holds water and traps debris.
Loosen the slip nuts on the P-trap using pliers. Slide the trap down and away.
Remove the pop-up sink drain. Pull it out and clean any debris.
Unscrew the tailpiece. This pipe connects the drain to the trap.
Cut away any sealant or caulk around the drain opening.
Note: Hair, grease, and debris often clog the trap. Clean it out before moving on.
You want to remove the mounting hardware next. Different bathroom sinks use different hardware. Here's a table to help you spot what you have:
Type | Description |
|---|---|
Undermount | Clips hold the sink under the countertop. You need a screwdriver to loosen them. |
Drop-in | Clamps secure the sink. Caulk creates a tight seal. |
Wall-mount | Special mount clamps keep the sink on the wall. |
Steps for removal:
Look under the sink for clips or clamps.
Use a screwdriver or wrench to loosen each fastener.
Keep the hardware in a tray or bag. You may need it for the new sink.
Tip: If you see rusted or stuck nuts, try a drop of penetrating oil. Wait a few minutes, then loosen the nut again.
Now you're ready for removing a sink from the countertop. You want to avoid damage. Here's a step-by-step guide:
Loosen all metal clips under the sink basin.
Take a utility knife. Run it around the edge of the sink to cut through caulk or adhesive.
Ask a helper to hold the sink from below. This keeps it steady.
Lift the sink out slowly. If it feels heavy, go slow and steady.
Place the sink on a towel or soft surface.
Note: If you plan to reuse the sink, avoid dropping it. Ceramic and cast iron can crack easily.
Undermount sinks need extra care during removal. You want to protect the countertop and avoid leaks later. Here's what you do:
Turn off the water supply. Disconnect all plumbing connections.
Clear out the cabinet below the sink.
Put on safety gloves and goggles.
Find the sink clips. Loosen them using a screwdriver.
Use a utility knife to cut through the caulk seal between the sink and countertop.
Lift the sink gently. If you feel resistance, check for missed clips or leftover caulk.
Tip: Removing adhesive can be tough. Take your time. Rushing can damage the countertop.
Common challenges include:
Adhesive that won't budge
Risk of scratching or cracking the countertop
Need for a perfect seal during reinstallation to prevent leaks
You might run into problems during removal. Here are some common issues and solutions:
Issue | Description |
|---|---|
Clogs | Hair, grease, and debris slow drainage. Clean the trap and pop-up. |
Corrosion | Rust from cleaners or minerals can cause leaks. Use penetrating oil or a nut splitter. |
Pop-up Problems | The pop-up can clog. Remove and clean it. |
Trap Issues | Debris collects in the trap. Remove and clear it out. |
Troubleshooting tips:
Tighten a stuck nut slightly before loosening. This can break up rust.
Tap the nut gently using a hammer and center punch.
Apply heat to expand the metal. This helps break the nut free.
Use penetrating oil. Wait, then try loosening again.
Use a nut splitter if the nut won't move.
As a last resort, cut the nut off using a hacksaw.
Tip: If you see stubborn clogs, try a plunger or drain snake. These tools help clear blockages fast.
You finished removing a bathroom sink. You handled disconnecting the drain, mounting hardware, and the sink itself. You solved common removal problems. Now you're ready for cleanup and installation.
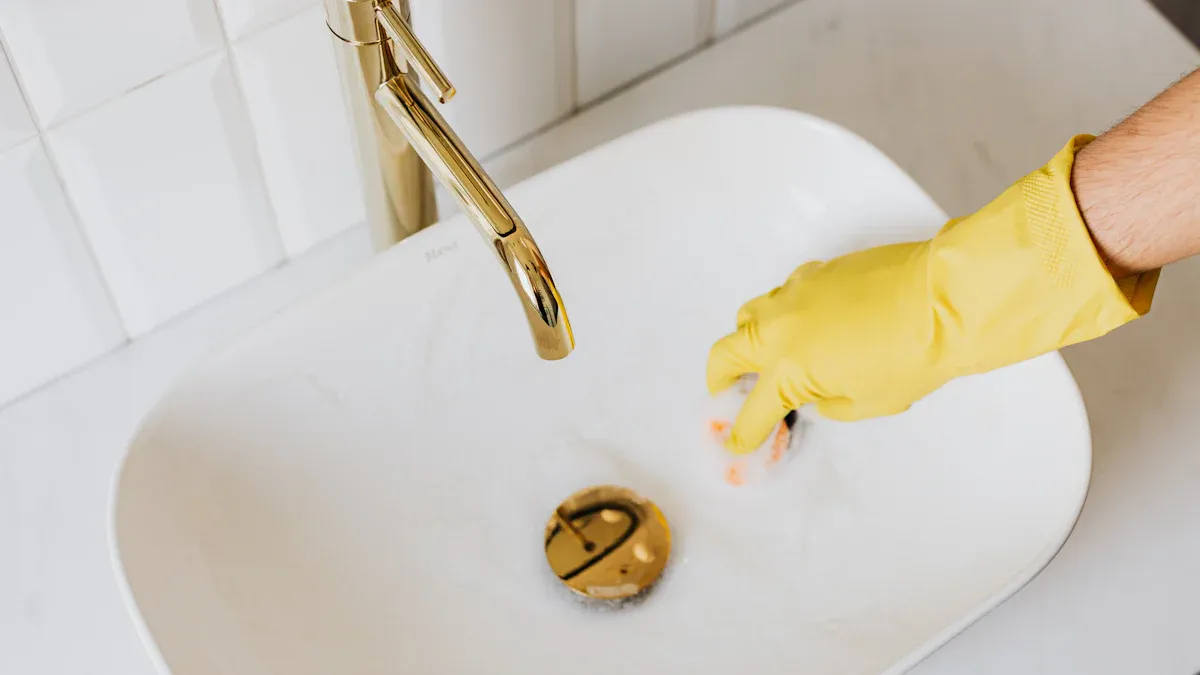
You have taken out your old bathroom sink. Now, you need to clean the area before putting in a new one. First, pick up any leftover hardware. Wipe the countertop with a cloth. Sticky caulk and dirt can make it hard to install the new sink. You can use Krud Kutter Caulk Remover. It sticks to old caulk and works best if you leave it on for 5 to 20 minutes. If you have silicone caulk, try acetone or denatured alcohol. These help break down the caulk so you can scrape it off more easily.
Here's a quick cleanup checklist:
Take off all old caulk and glue
Wipe away dust and dirt
Look for water stains or mold
Make sure the countertop is dry
Tip: A clean surface helps your new sink fit well and last longer.
You need to get ready to put in a new bathroom sink. Start by measuring your sink and the hole in the countertop. This helps you avoid problems later. Pick a sink, faucet, and other parts that match your style. Make sure everything fits together.
Steps for preparation:
Measure your sink and the countertop hole
Choose the right parts for your bathroom
Lay out your new sink and hardware
Read the instructions for your new items
Looking for a new sink? Aquacubic has many good choices.
Note: Aquacubic sinks look nice and last a long time. You can find one that fits your bathroom and your style.
You are done taking apart your bathroom sink. Try to recycle old pipes and fixtures. This helps keep the earth clean.
Some old pipes have lead in them.
Recycling helps stop pollution.
Look for leaks after you put in the new sink. If you find cracks or clogs, get help from a plumber. Aquacubic sinks are simple to install.
Feature | Benefit |
|---|---|
Smooth glazing | Makes cleaning easy |
Deepened design | Lets you hold more water |
Anti overflow design | Stops water from spilling |
Tool-free installation | Lets you set up fast |
You can finish in about 30 to 60 minutes. It depends on your tools and if you find any stuck parts.
No, you only need to turn off the valves under the sink. Test the faucet to make sure water stops.
Yes, you can reuse them if they look good and work well. Clean them before you install again.
