


kitchen Excellent Classical Sink Faucet Bridge Faucet
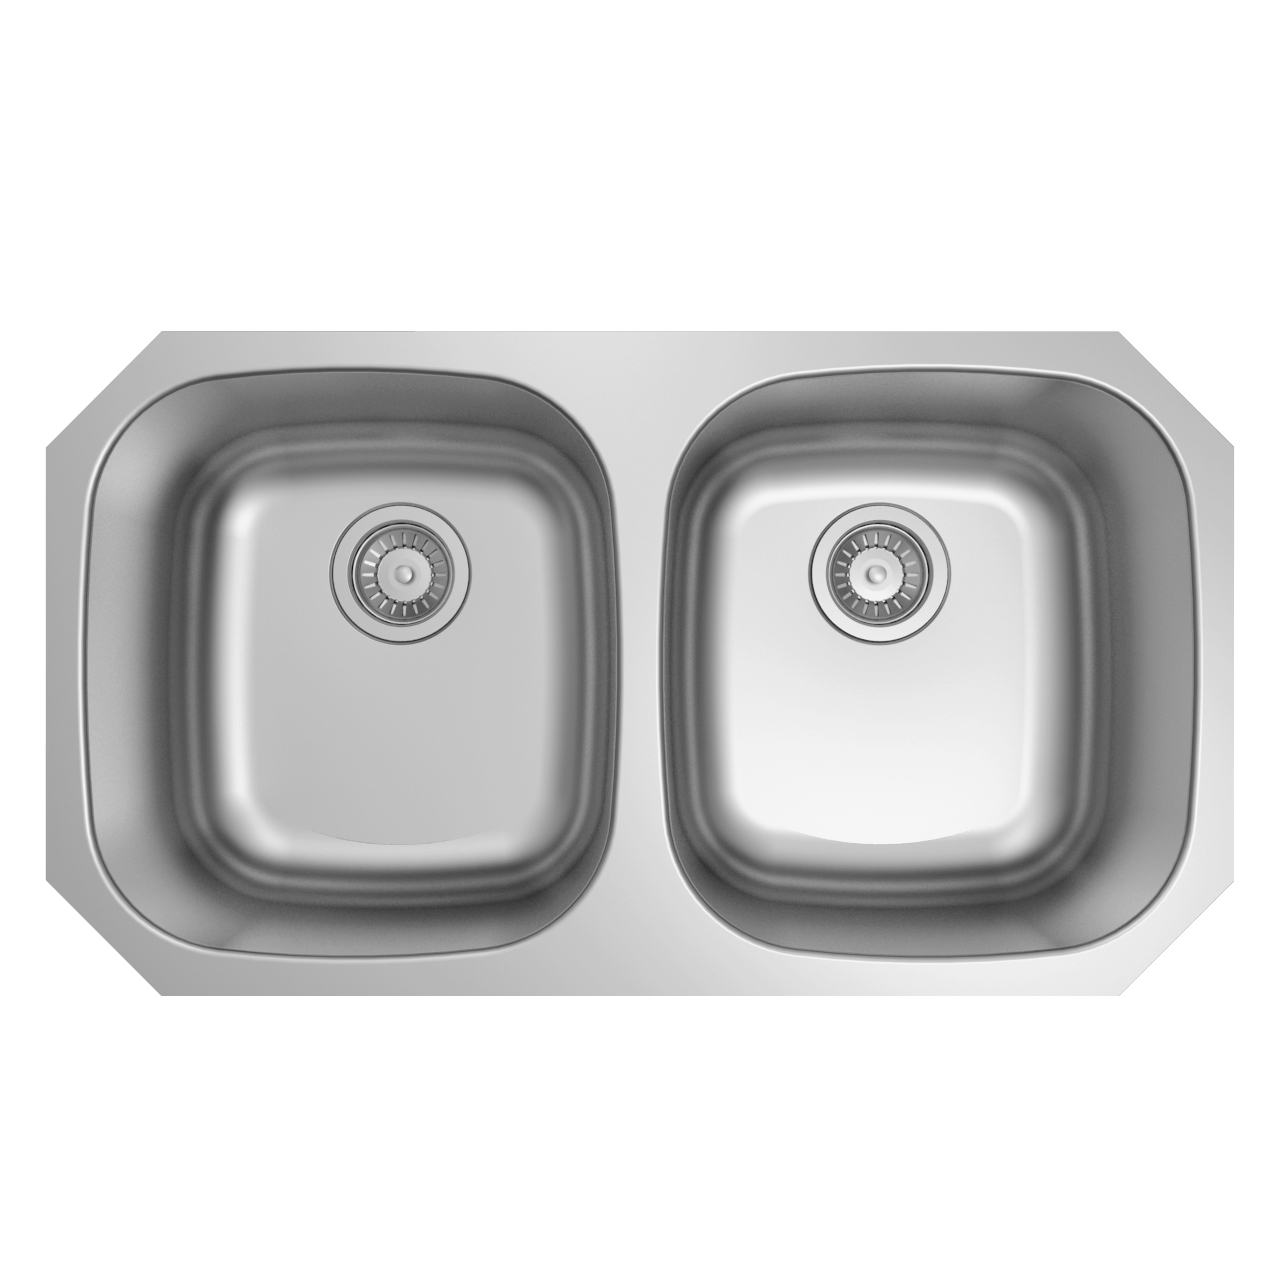
Stainless Steel Double Bowl Pressed Drawn Kitchen Sink

Farmhouse PVD Gold Color 304 Stainless Steel Handmade Single Bowl Kitchen Sink with Ledge

Luxury white bathroom ceramic rectangle undermount bathroom sinks wash basin under counter hotel basin sink

Aquacubic cUPC Modern Lead Free Brass Body Matte Black 3 Function Pull Down Kitchen Faucet AF3068-5MB

Aquacubic 32"x18" 18 Gauge 9 Inch Deep Stainless Steel Single Bowl Under Mount Kitchen Sink Basin with Accessories

kitchen Excellent Revolving Sink Faucet Bridge Faucet

Aquacubic cUPC Deck Mounted Lavatory Washroom Bathroom Brass Single Hole Waterfall Faucet Mixer Tap

Height Adjustable Medical Bathtub Bath Tub Shower Seat Chair Bench Stool

Hot Sale Countertop Single Hole Wall Mounted or Desktop Bathroom Sink Basin

Matt Black Single Lever Handle Deck Mounted Bathroom Faucet

Pull Out Sprayer Kitchen Sink Faucet AF1013-5D
