With our abundant experience and considerate products and services, we have been recognized to be a reputable supplier for a lot of global consumers for Universal Sanitary Pull Out Kitchen Faucet,
Drop In Kitchen Sink Workstation, Pull Down Sink Faucet, Basin Sink Faucet, folding water bucket with tap, Pull Out Faucet, For further queries or should you have any question regarding our products, please do not hesitate to contact us., Cannes, They are sturdy modeling and promoting effectively all over the world. Never ever disappearing major functions within a quick time, it's a have to for you of fantastic good quality. Guided by the principle of Prudence, Efficiency, Union and Innovation. the corporation. ake an excellent efforts to expand its international trade, raise its organization. rofit and raise its export scale. We are confident that we are going to have a bright prospect and to be distributed all over the world in the years to come. Aquacubic provides "Quality Bath & Kitchen Solution" to our customers.Quality is always the first priority of Aquacubic.
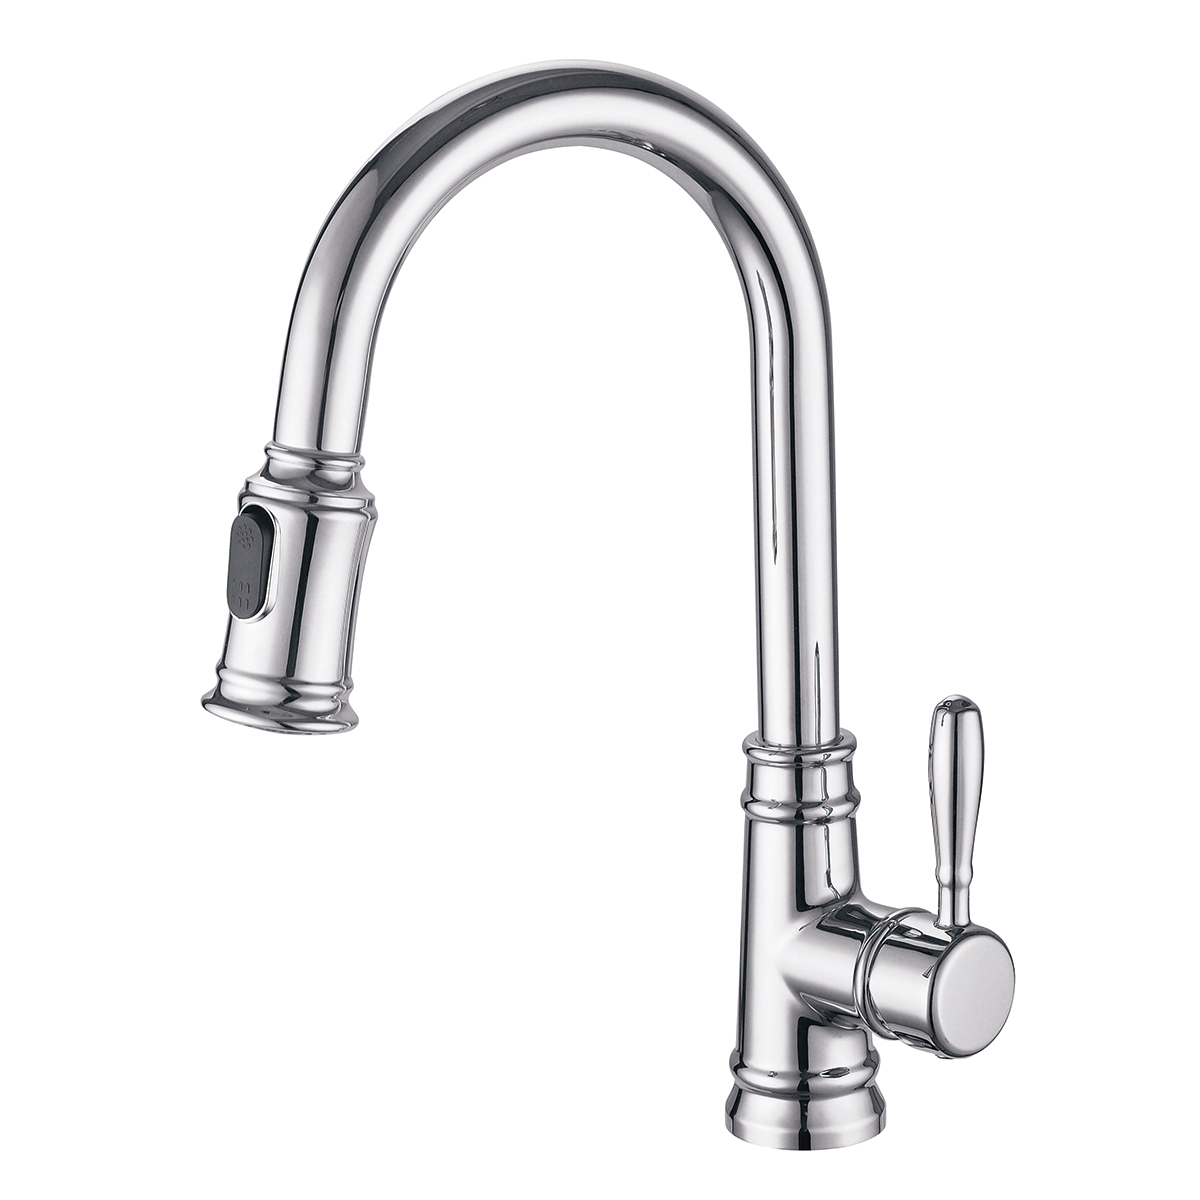
Kitchen Faucets with Pull Down Sprayer Replacement Head, Sink faucet head 3-Function for …
List of Top Rated Commercial Touchless Kitchen Faucets in 2022 and reviews 1.Moen Align …
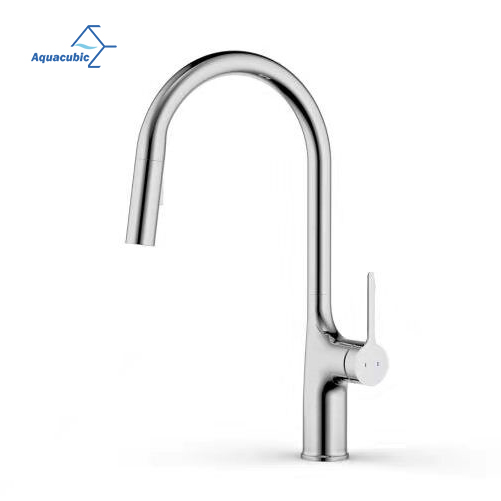
What is Single Handle Pull out Kitchen Tap 304 Water Basin Stainless Steel Kitchen Faucet, Factory8 manufacturers
Kingston Brass Bridge Kitchen Faucet With Brass Sprayer, Brushed Nickel by Kingston Brass (246)
The special drop and fold mechanism saves you the space of the barrier arm in open position. If the site has too little headroom for a boom, a folding arm is the solution. ? ? barrier arm: 80mm ? Max. arm length: 4500mm. The maximum arm length is …
Reginox Traditional White Ceramic 1.5 Kitchen Sink ... £229.95 In Stock 109 WITH WASTE Reginox Contemporary White Ceramic Belfast Kitchen... £249.95 In Stock 4 WITH WASTE Reginox White Ceramic 1.0 Bowl Kitchen Sink Mixer... £229.95 In Stock 75 Venice 1.0 Bowl Matt White Undermount Composite... £159.95 In Stock WITH WASTE
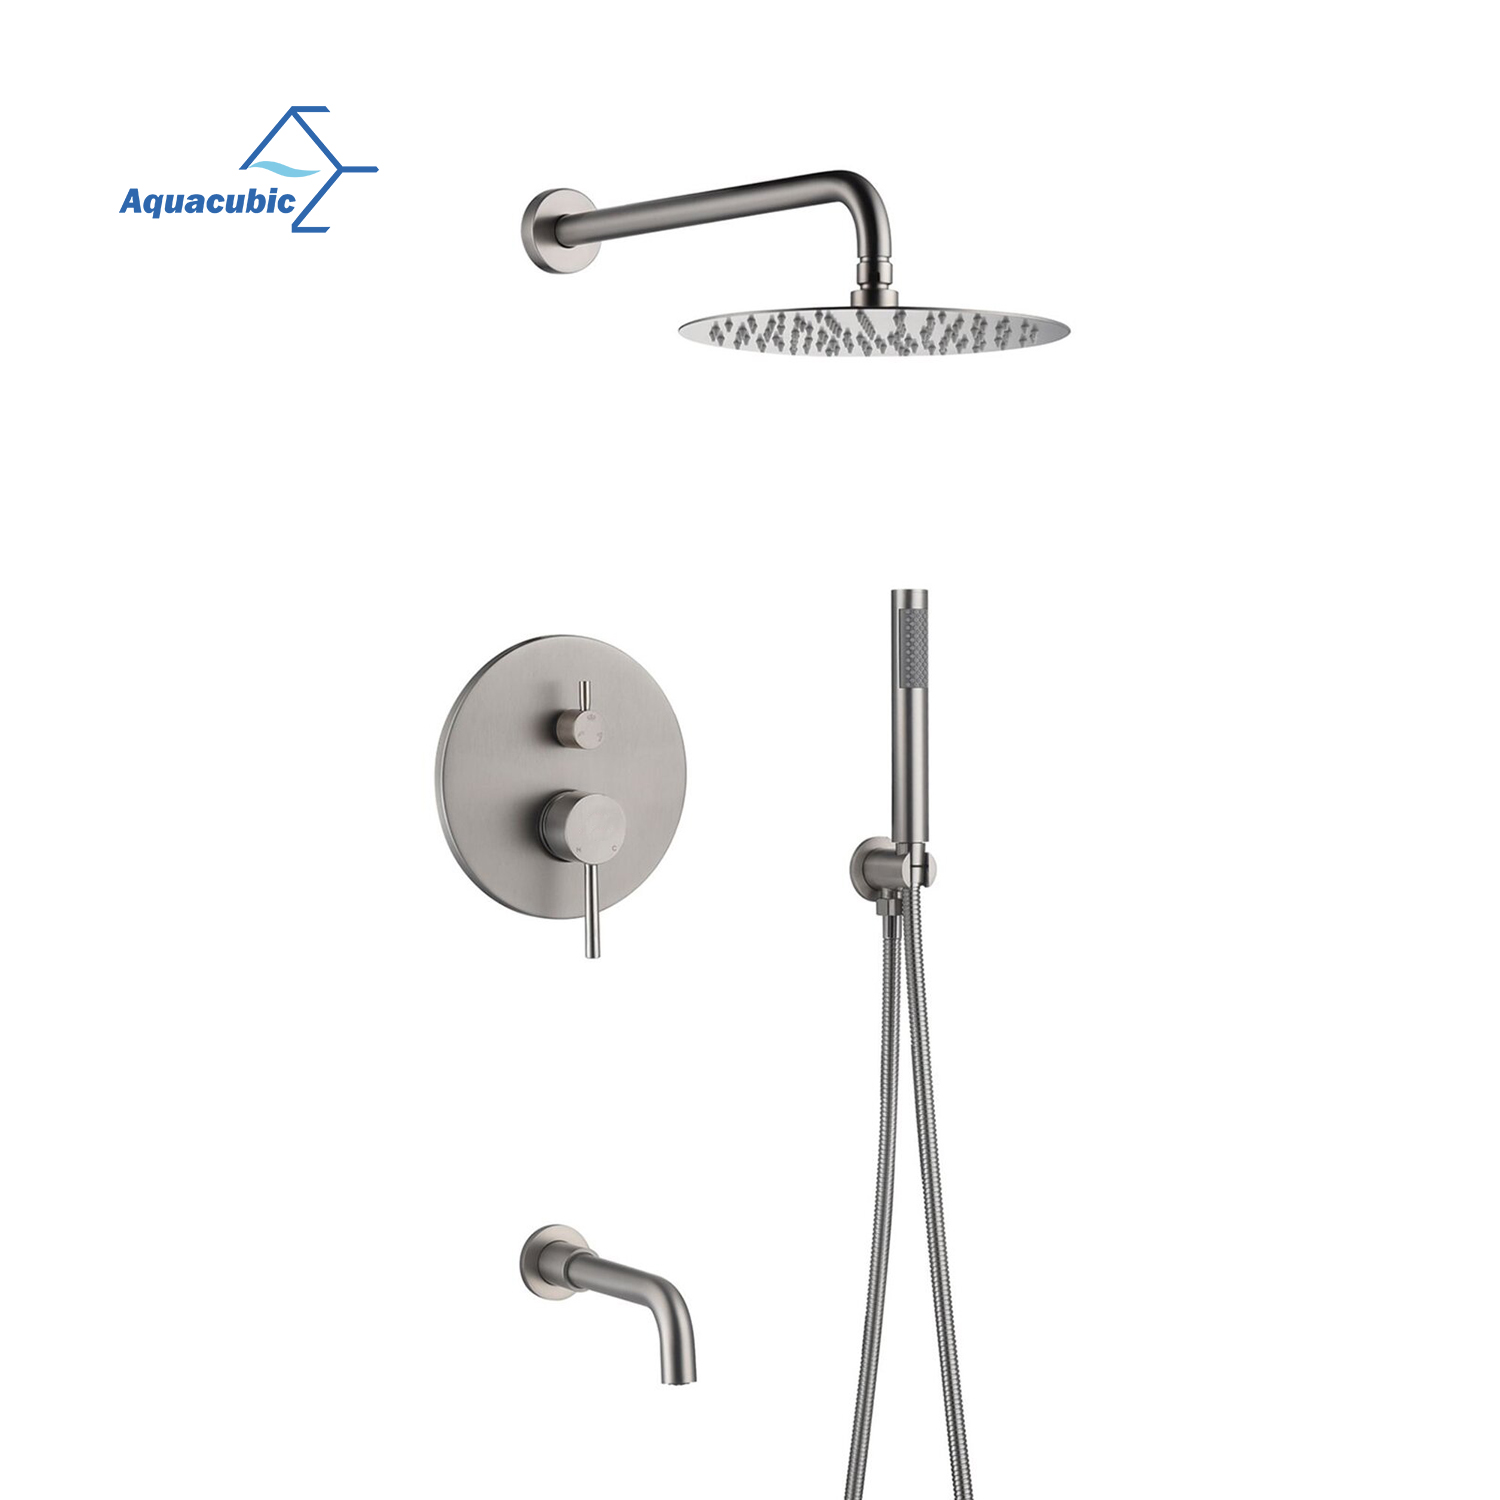
Economic Brass Basin Mixer Bathroom Faucet Ty-A2001 US
Rv Folding Bathroom Sinks | Wayfair Showing results for "rv folding bathroom sinks" 1,270 Results Sort by Recommended Eastcott White Rectangular Console Bathroom Sink with Overflow by Signature Hardware